Hi everyone! For those of you who are new to Gelli printing, I thought I’d share with you a technique that enables you to create textured prints with minimal effort and using basic equipment. Most Gelliprinters talk about printing with acrylics, but I actually love printing with watercolour and I’m going to tell you why in this blog as part of the October Gelli blog Hop, which kicked off by organiser and Gelli enthusiast, Michelle Reynolds.
Wednesday 15th Oct Michelle Reynolds http://shellsinthebush.blogspot.com.au/
Thursday 16th Oct Joanna Grant http://joannabananadesignoriginals.blogspot.com
Friday 17th Oct Jacques Williamos https://theelevatorpress.wordpress.com/
Saturday 18th Oct Linda Stokes http://www.lindastokes-textileartist.com/
Sunday 19th Oct Phillippa Montier http://pipart71.weebly.com
Monday 20th Oct Lauri Crowe http://www.laurijeancrowe.com
Tuesday 21st Oct Gail Schmidt http://www.shabbycottagestudio.net
Wednesday 22nd Oct Tami Sturm Howes http://www.thisandthatfromtami.blogspot.com
I belong to a Facebook group called Gelatin Printing Enthusiasts – a growing community of fantastic, creative people who just love printing with the Gelli.
https://www.facebook.com/groups/gelatinprintingenthusiasts/
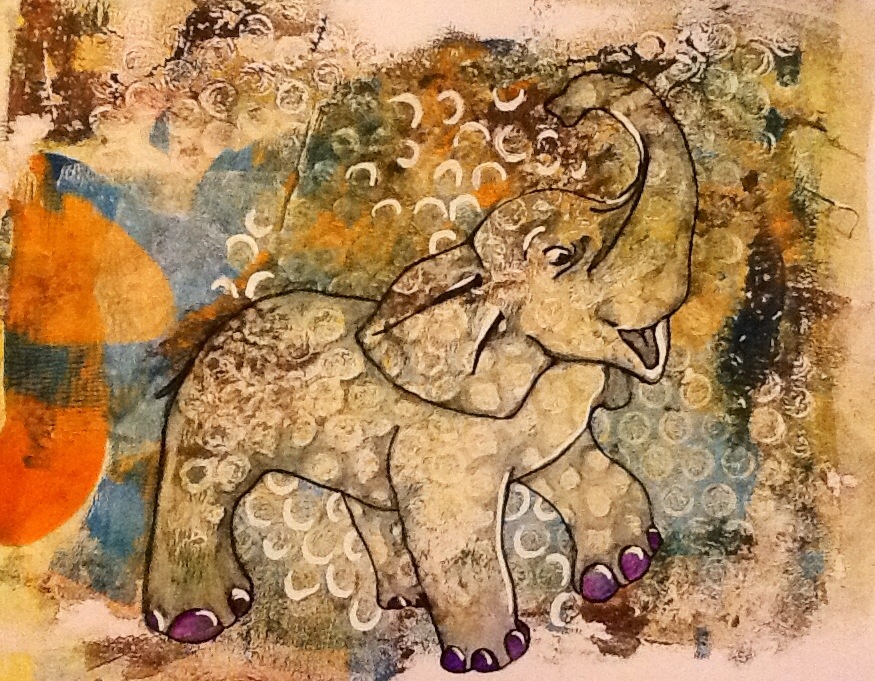
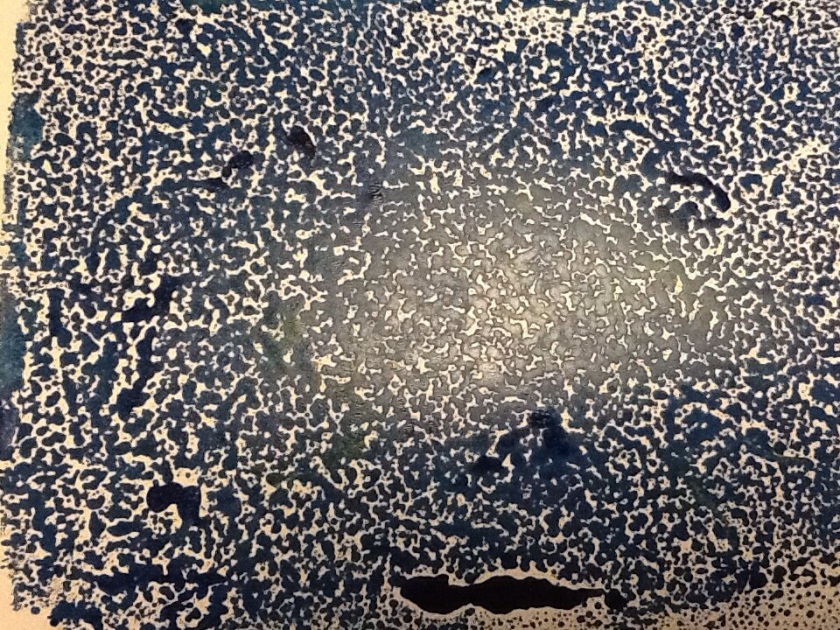
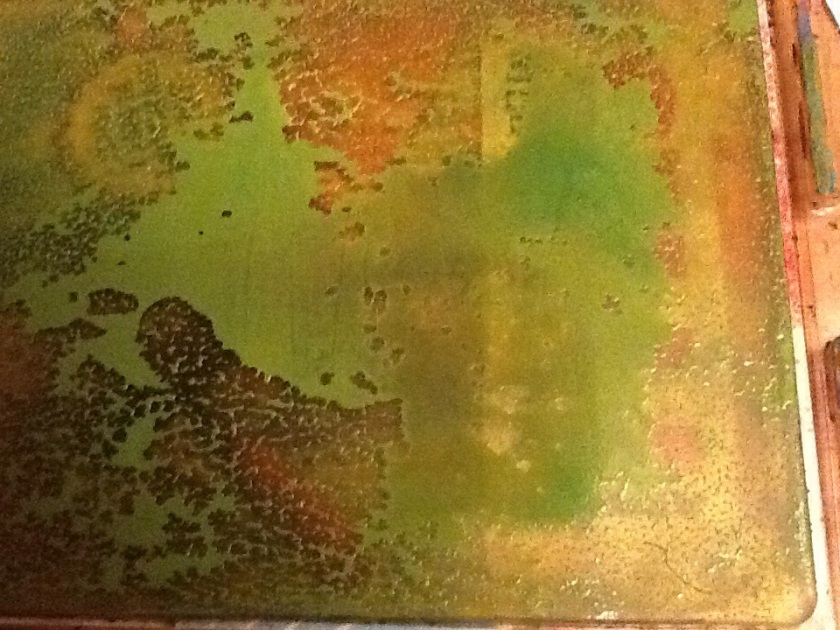
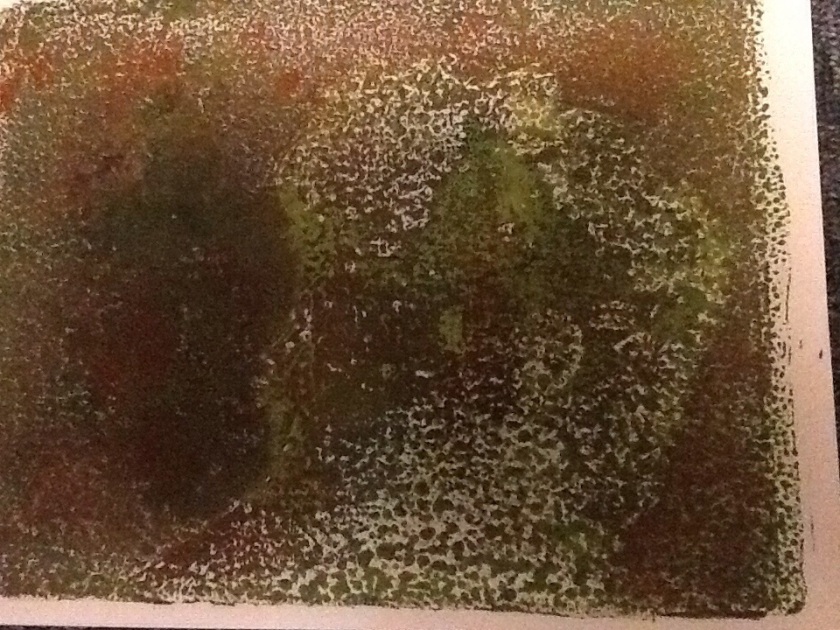
So, why do I like using watercolours? The tubed variety obviously comes in gorgeous colours, but they blend easily and react differently on the plate. I have deliberately incorporated the speckled effect of watercolour by applying water to the plate to dilute the paint and then using the brayer to distribute it. I then allow the paint to settle and separate into areas of dots.
I started on the lion picture by applying the lighter colours first and building it up layer by layer.
A mask was cut out in the rough shape of a lion’s face. I’ve used this technique with the birds I’ve shown on this blog and most recently with the turtle. The mask blogs out any areas I don’t want that colour to appear on.

A screwed up piece of paper was the dabbed over the entire surface to create another texture and give some movement in the background.

Gradually the layers were built up enough to show an outline from the mask so that I could apply inks, coffee syrup and watercolour paint using an aqua brush pen (these are amazing as you can add water or paint, coffee syrup, ink to the reservoir of the pen handle). I love them!


When I was happy with the result of the lion and the paint was dry, I reapplied the mask over the image of the lion; added two bands of colour to my Gelli plate (Prussian blue, white, yellow ocre).

Again, I waited for the paint to separate slightly to create a natural texture.
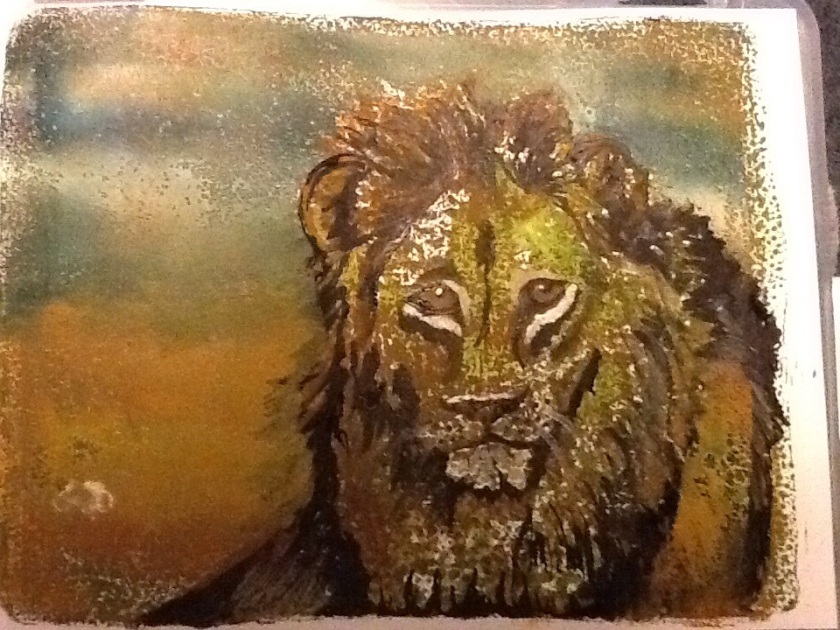
The fact that some of my drawing was covered by the reapplied paint from the Gelli adds to the effect (a bit like when using a screen print). So this picture has five layers on it and if you run your finger over the finished print, there are raised areas.
Now to my free giveaway:
I am offering one lucky person the chance to win a turtle Gelliprint OR the lion I’ve show today. To enter, please comment below either ‘Lion’ or ‘Turtle’. I will select the winner next Friday. Good luck 🙂